Boxes
Virtualization made easier
meta.badges.dev

Developer
GNOME
- Лицензия
- LGPL-2.1
- Project Website
- gnomeboxes.org
- Report an Issue
- gitlab.gnome.org
- Contribute Translations
- wiki.gnome.org
Boxes is the official utility for the GNOME desktop environment, which allows you to easily create virtual machines from operating system images.
Boxes can be installed in any familiar and convenient way:
Install via GNOME Software
In three clicks 😊
Follow the link install Boxes and confirm the “open application” operation in the browser. The Application Center will open, select the source "Sisyphus" in it, and click the "download" button
Installation via terminal
su -
apt-get update
apt-get install gnome-boxesepm -i gnome-boxesIf you have the Flatpak package, you can install Boxes with one command:
flatpak install flathub org.gnome.BoxesOr using the GNOME Software 🤔
Follow the link to install Boxes, and confirm the "open application" operation in the browser. After this, the Application Center will open, select the source "Flathub" in it and click the "download" button
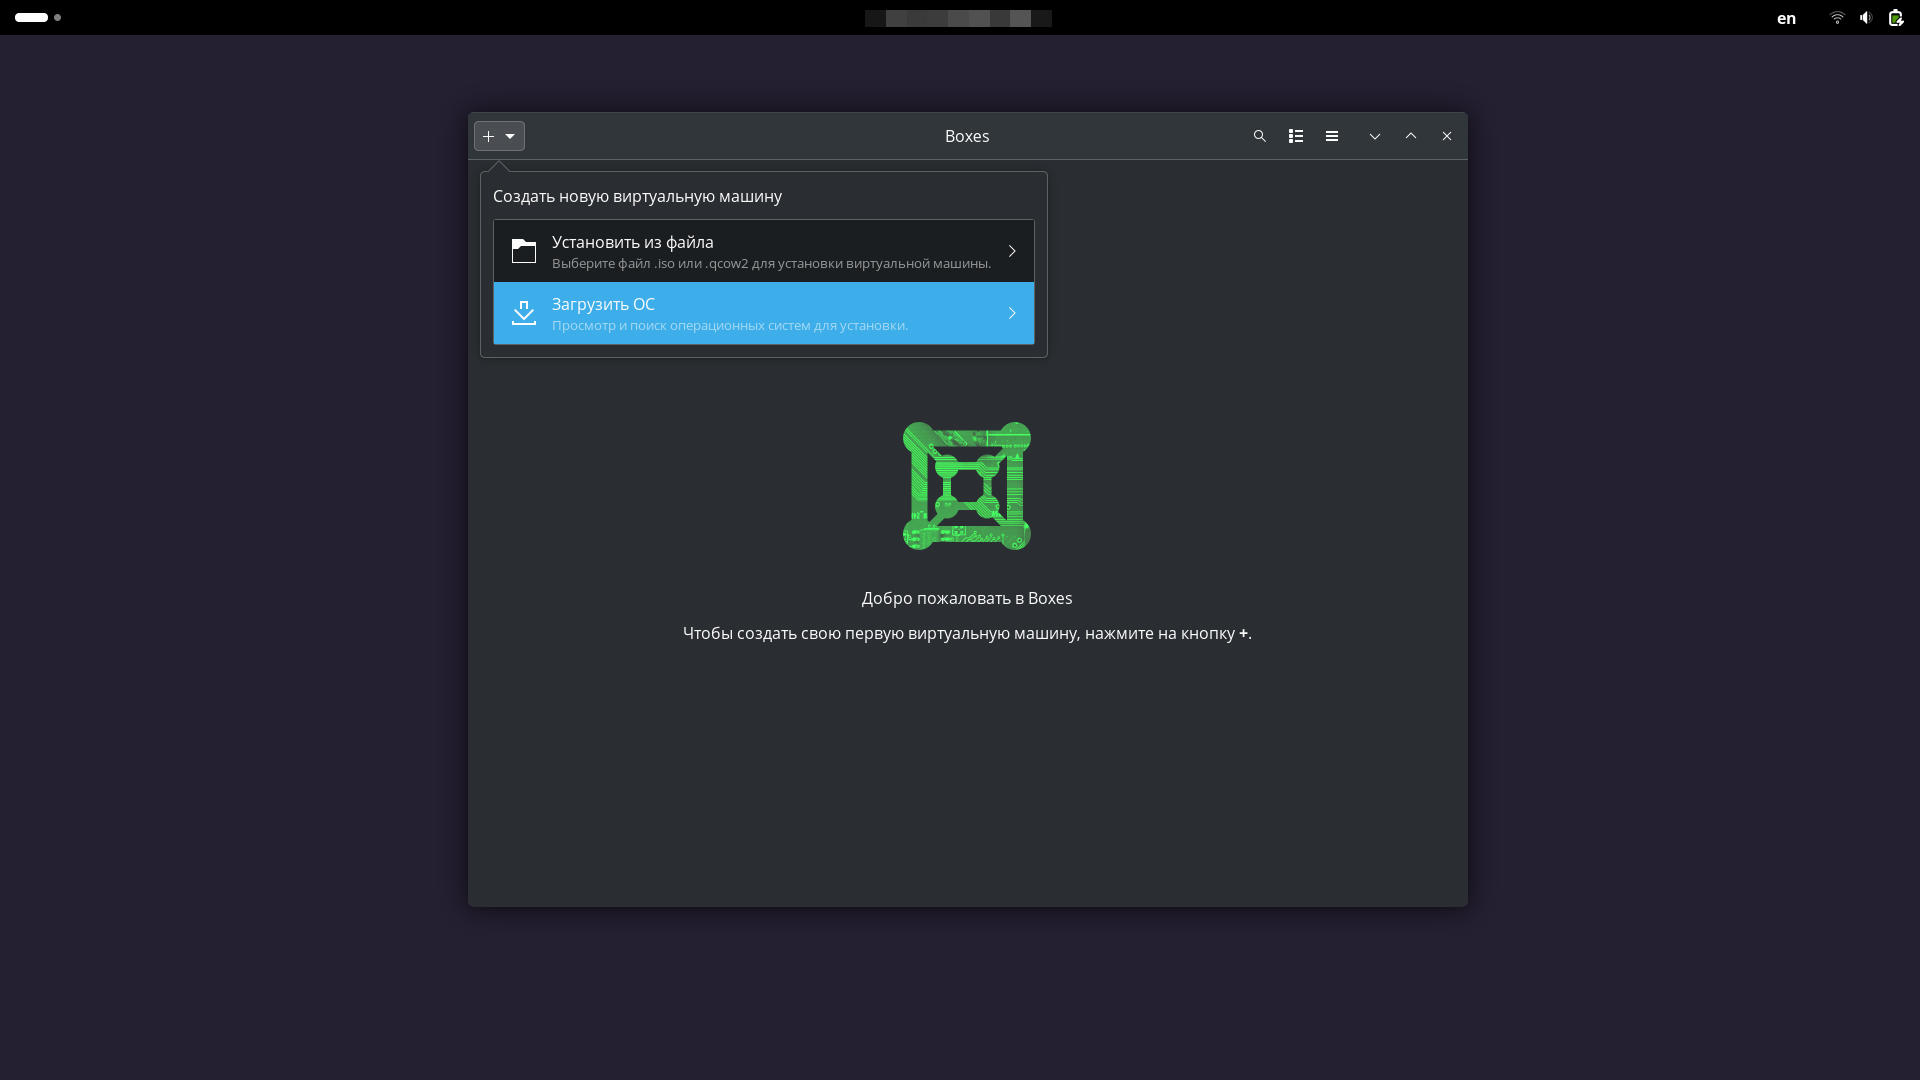
After launching Boxes, you can immediately begin creating the desired virtual machine. To create a VM, click + in the upper left corner.
An example of the Boxes window immediately after launch.

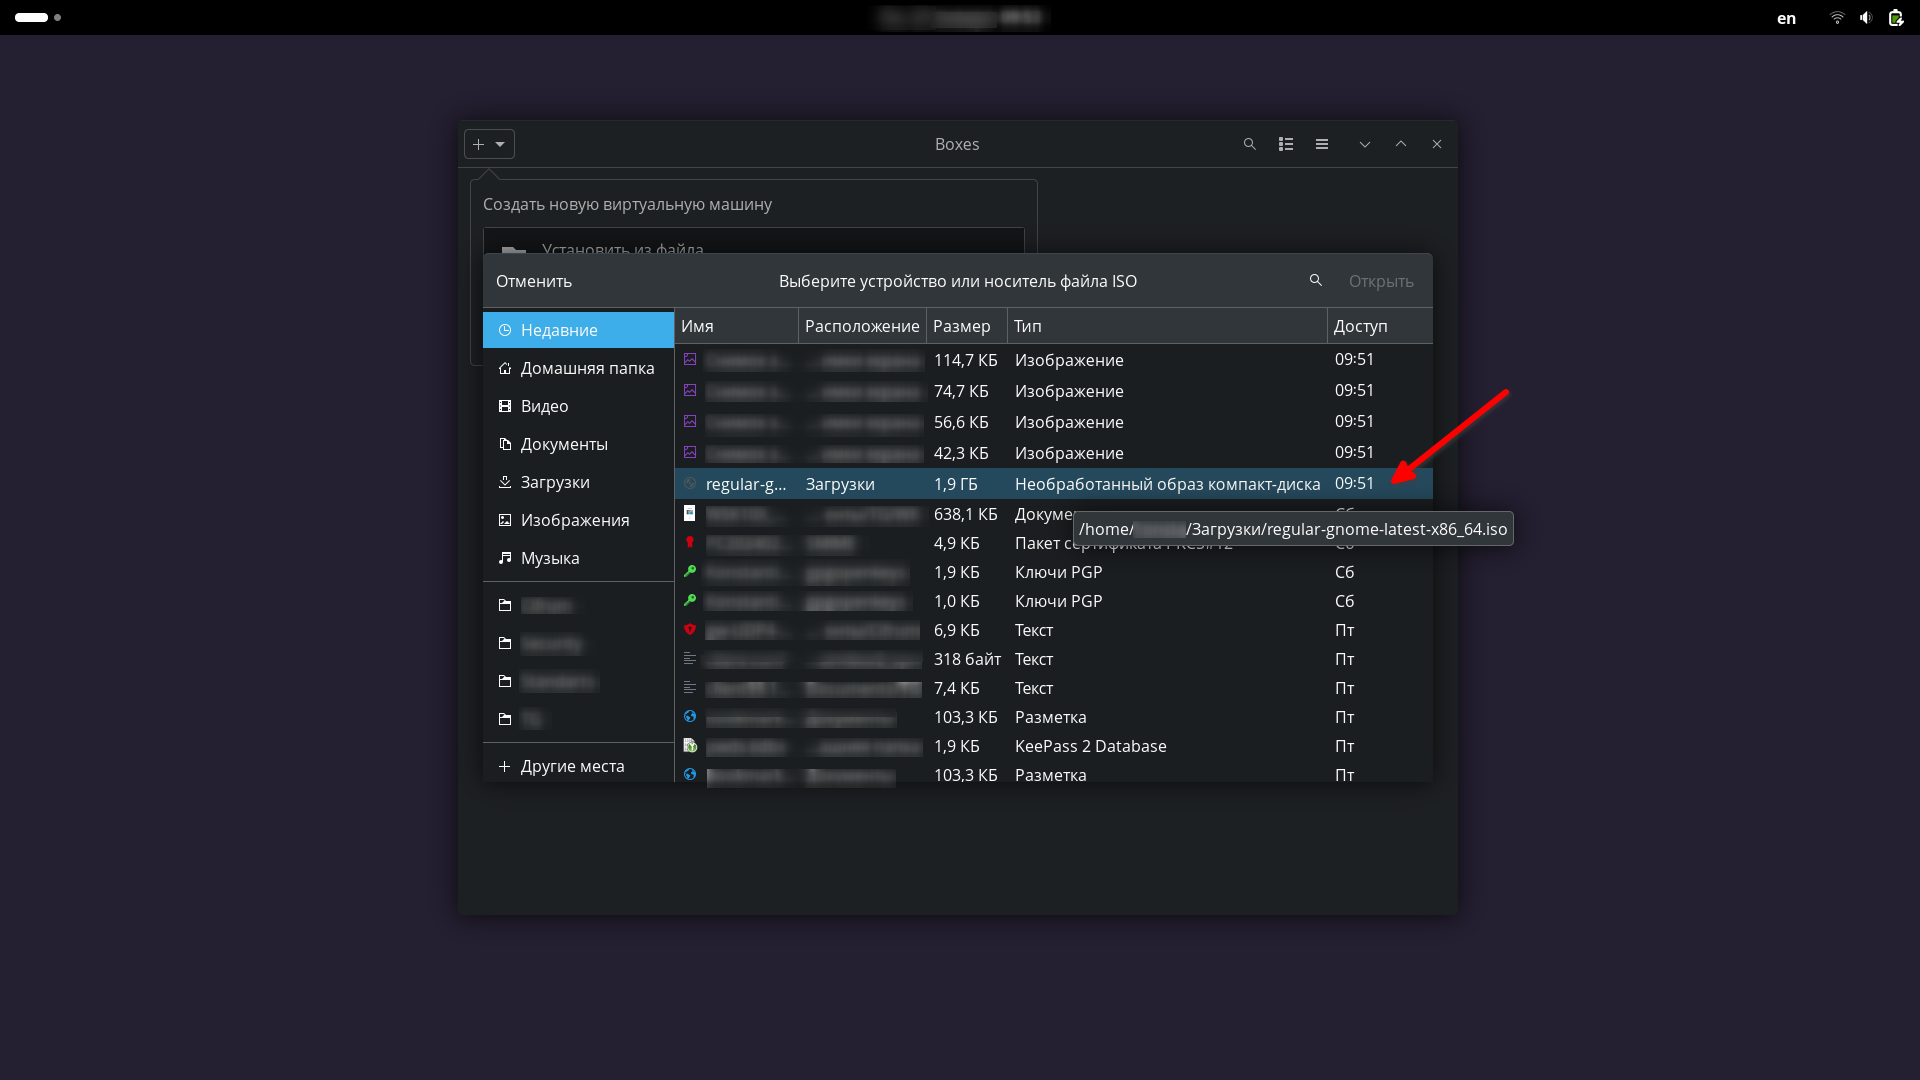
Next, you can select the .iso image file already existing on the disk, containing the desired OS. To do this, click “Install from file”.
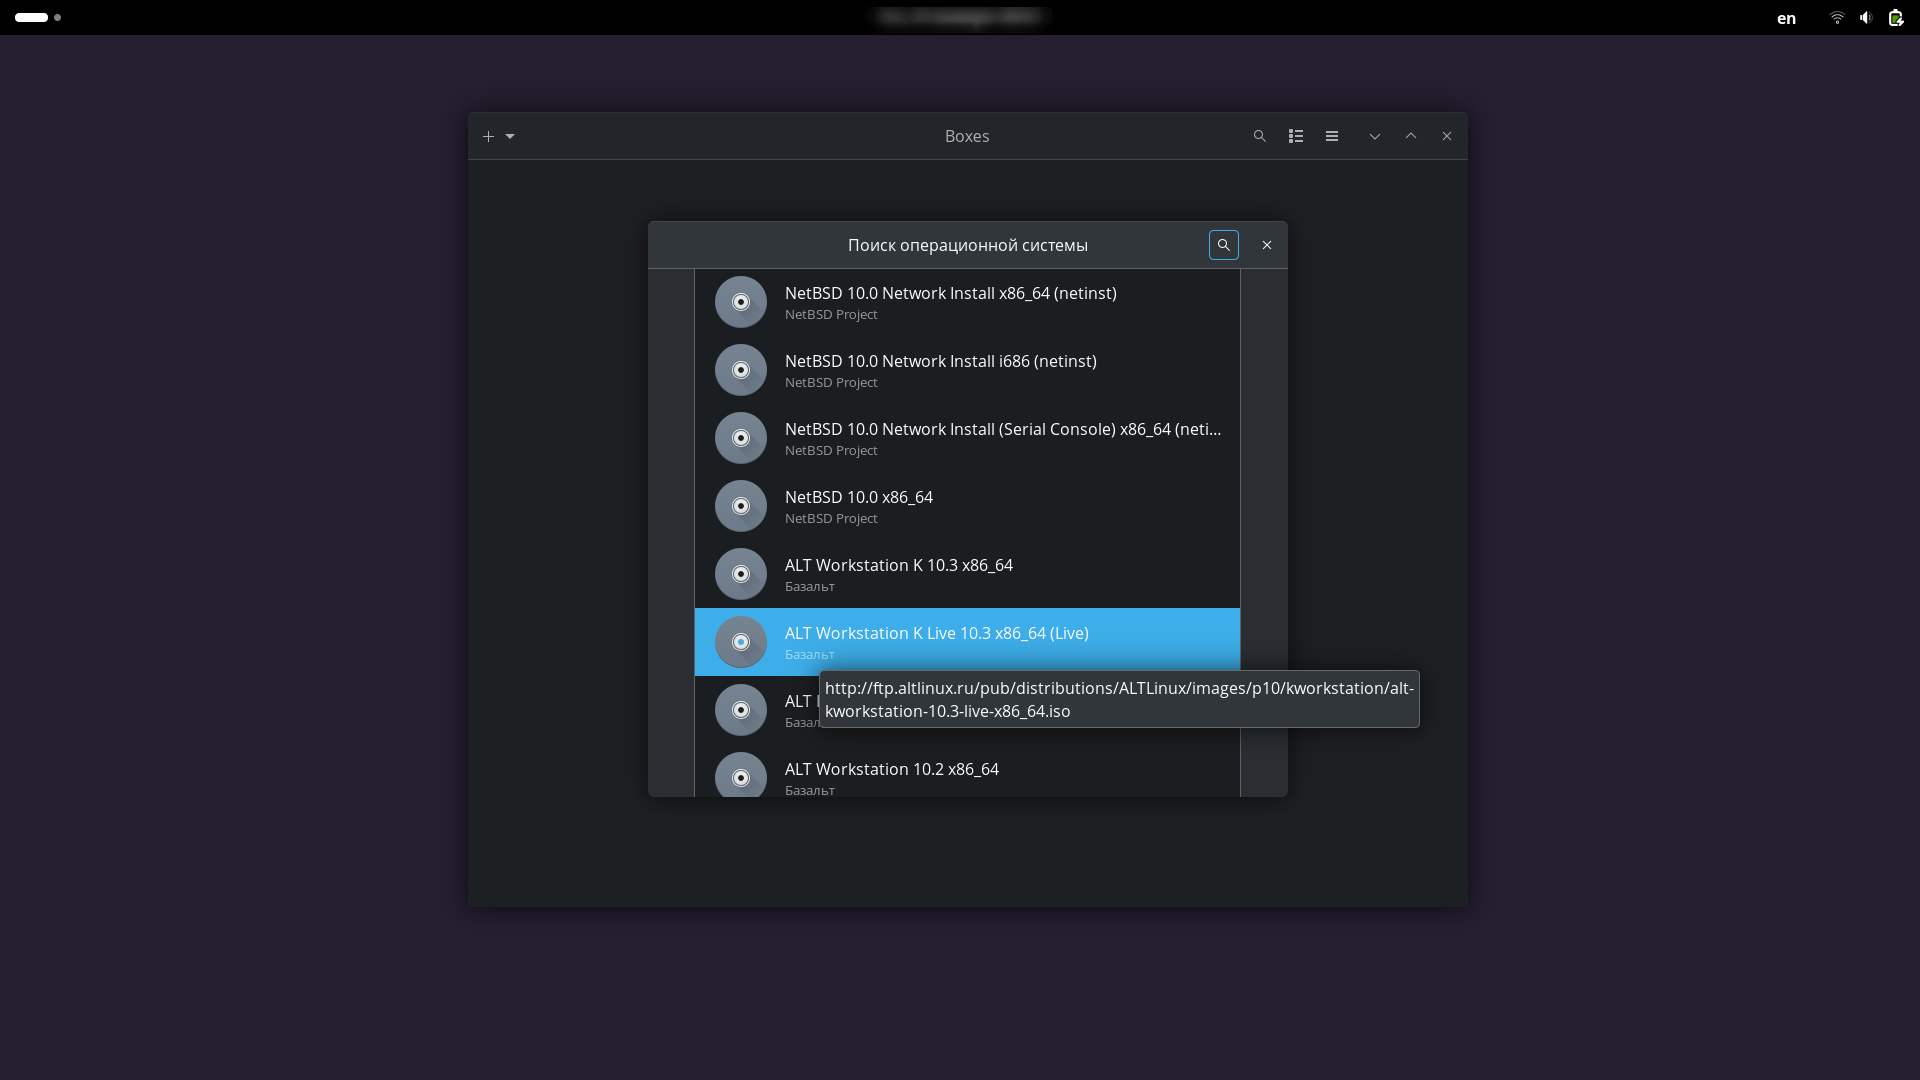
If there is no ready-made .iso image, then you can select the desired OS from the list. In this case, it will be automatically downloaded from the network (an Internet connection is required) and offered for installation. To do this, click “Download OS”.
An example of choosing an image for installing the OS.
An example of selecting a .iso image to install an OS from a local disk.
An example of selecting an image for installing an OS from the network.
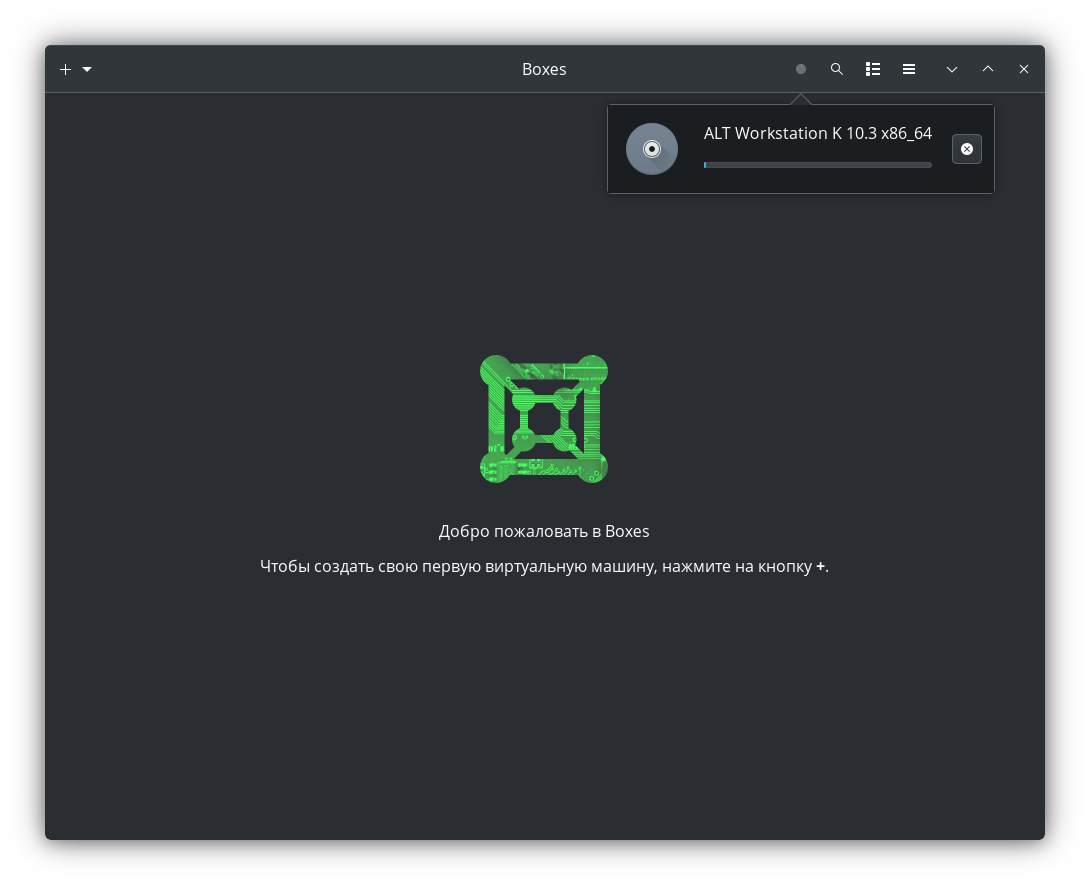
Wait for the image to download. After this, you can continue configuring the VM.
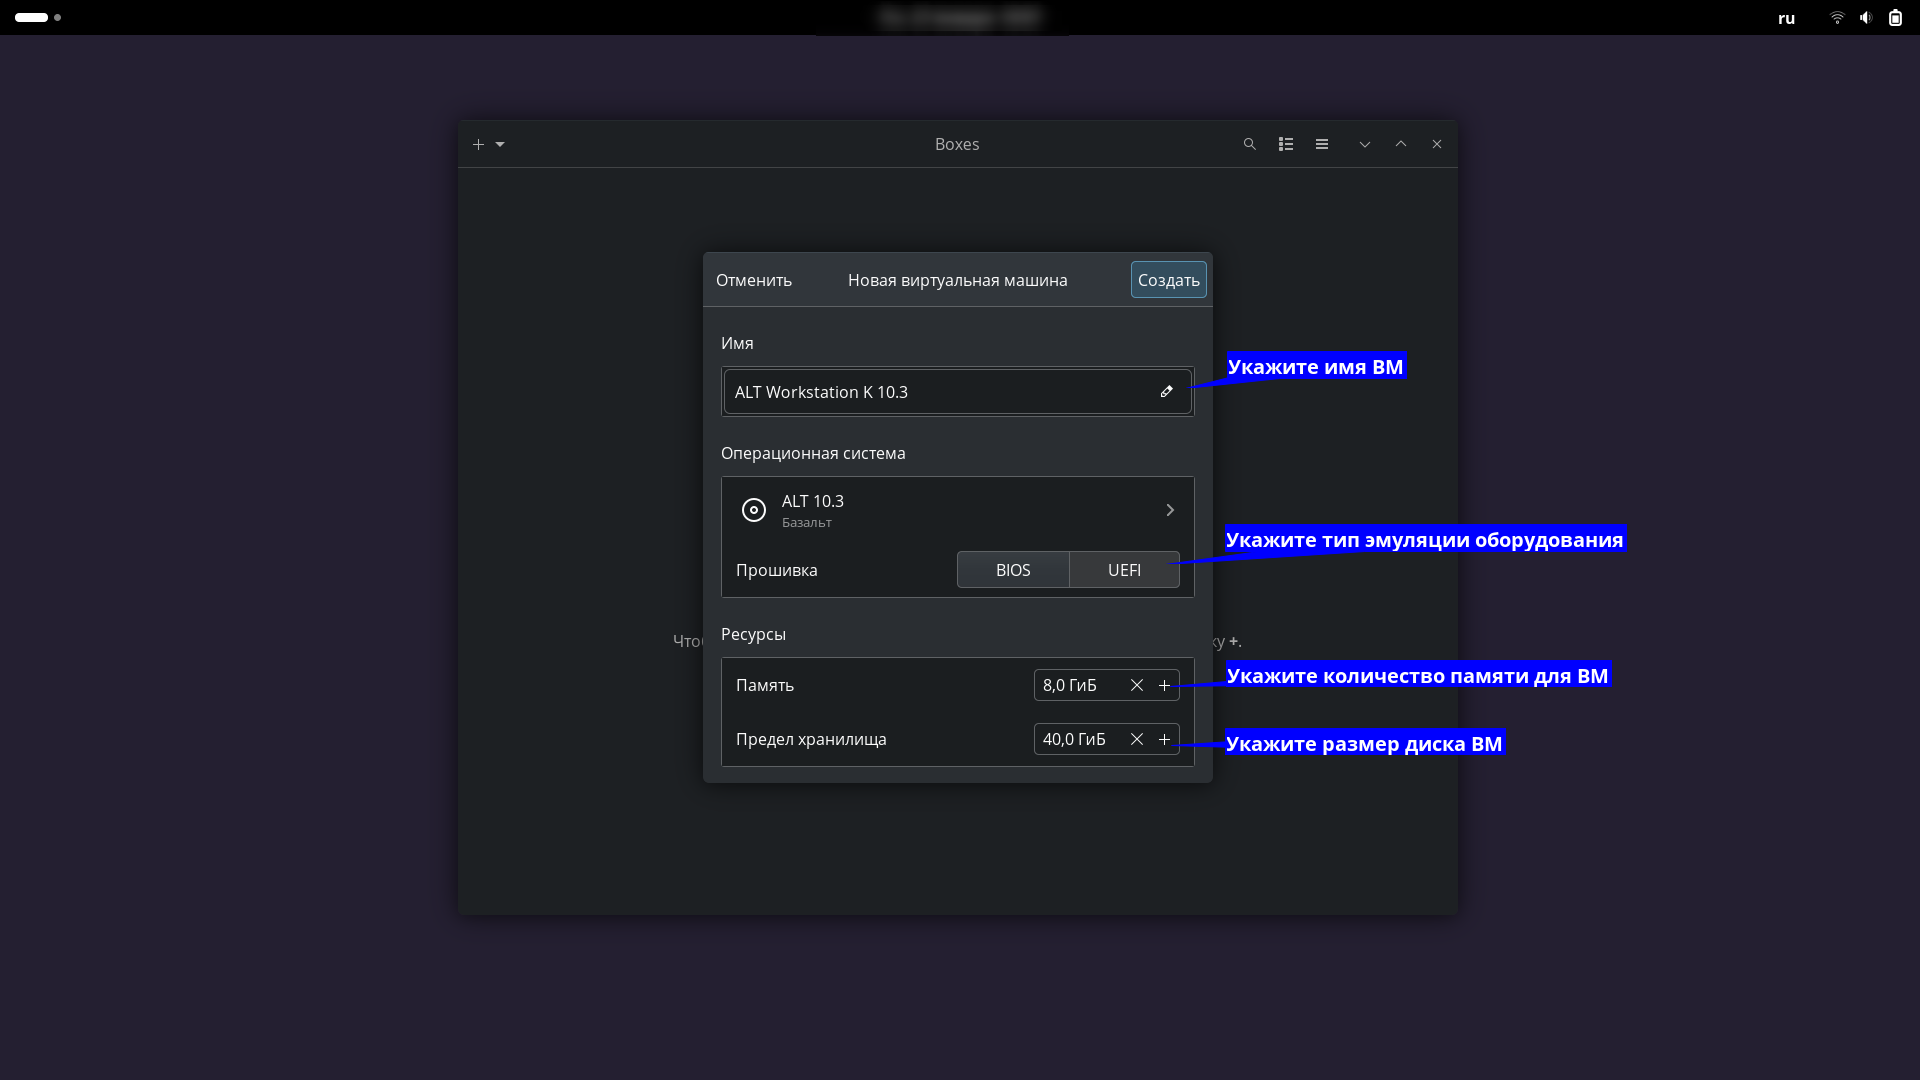
Then you need to set the resources for the VM and configuration parameters. Specify the required settings. For any popular and modern OS, it is recommended to select the UEFI emulation type. For outdated or less popular operating systems (for example, for BSD systems), it is better to choose the BIOS emulation option.
Specify parameters for the created VM.
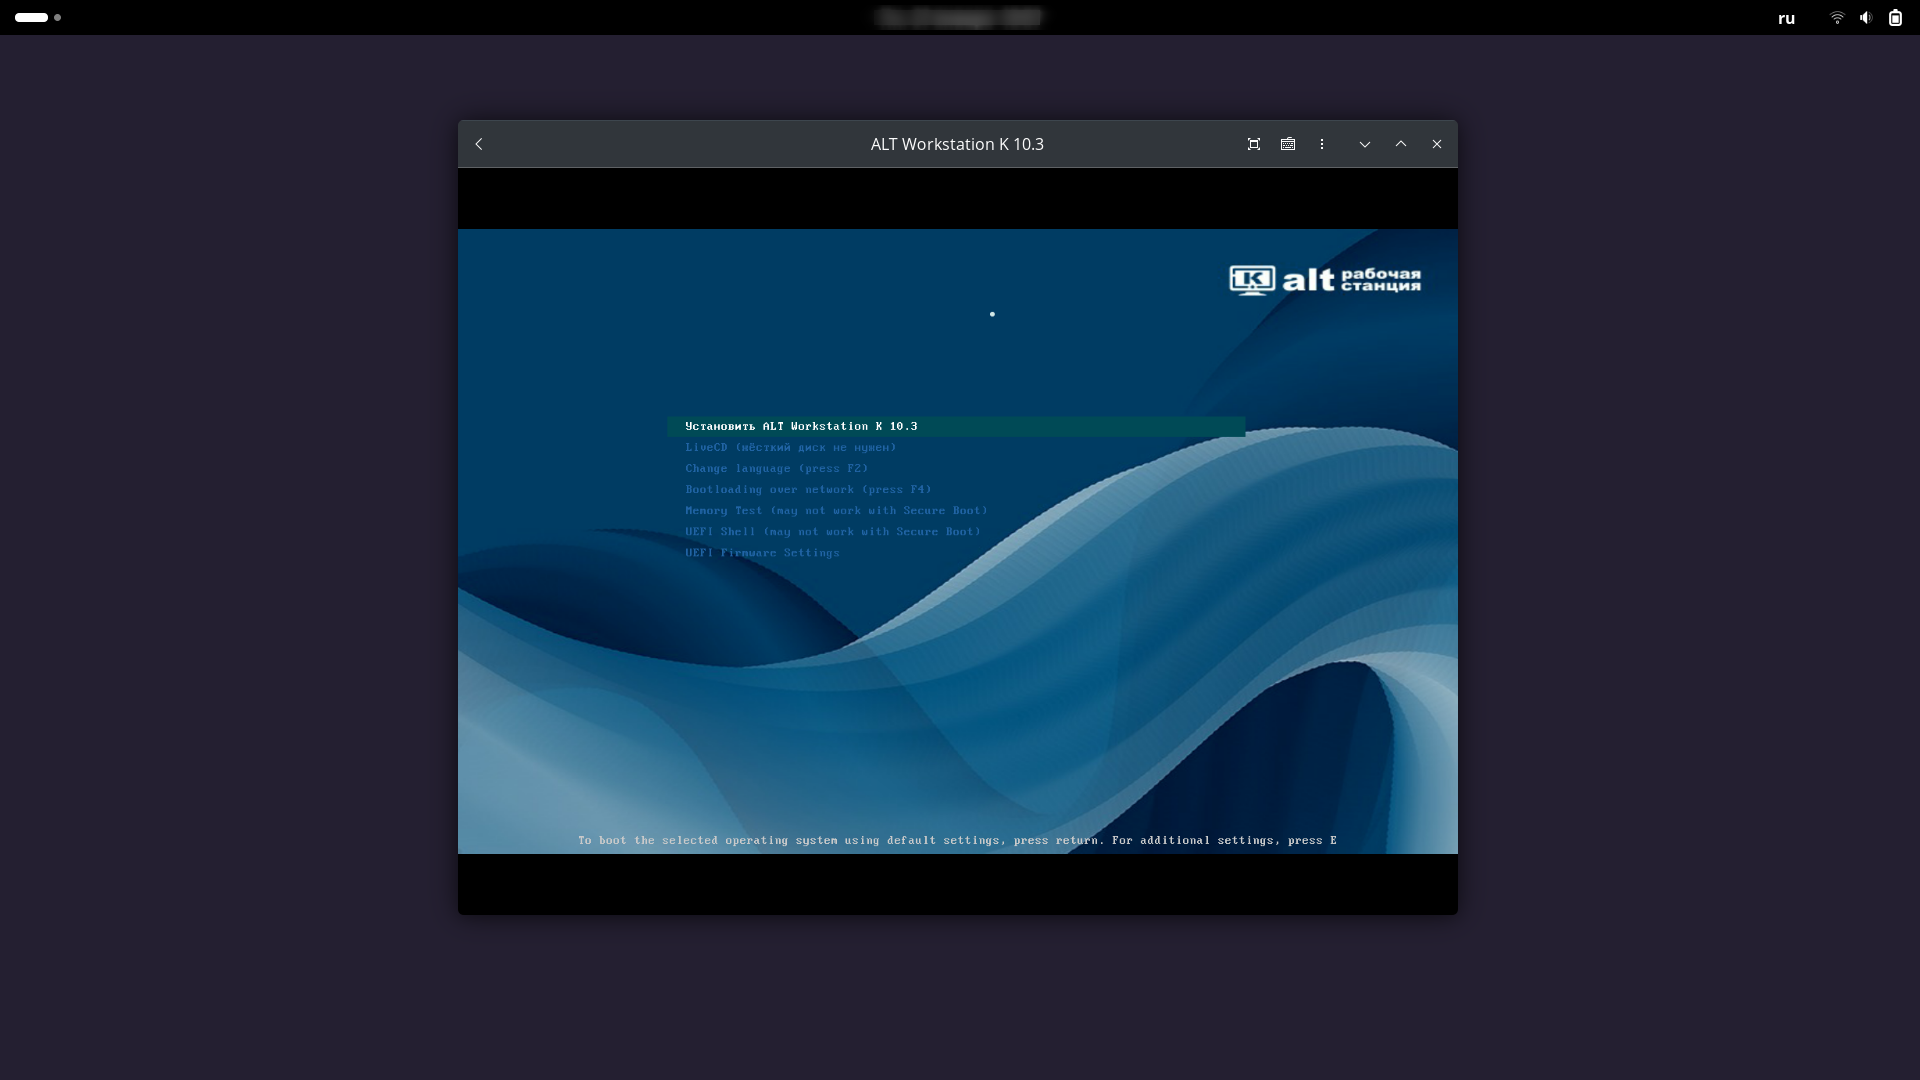
Next, you can begin installing the OS. Follow the installation program instructions.
An example of starting a VM with installing the OS.
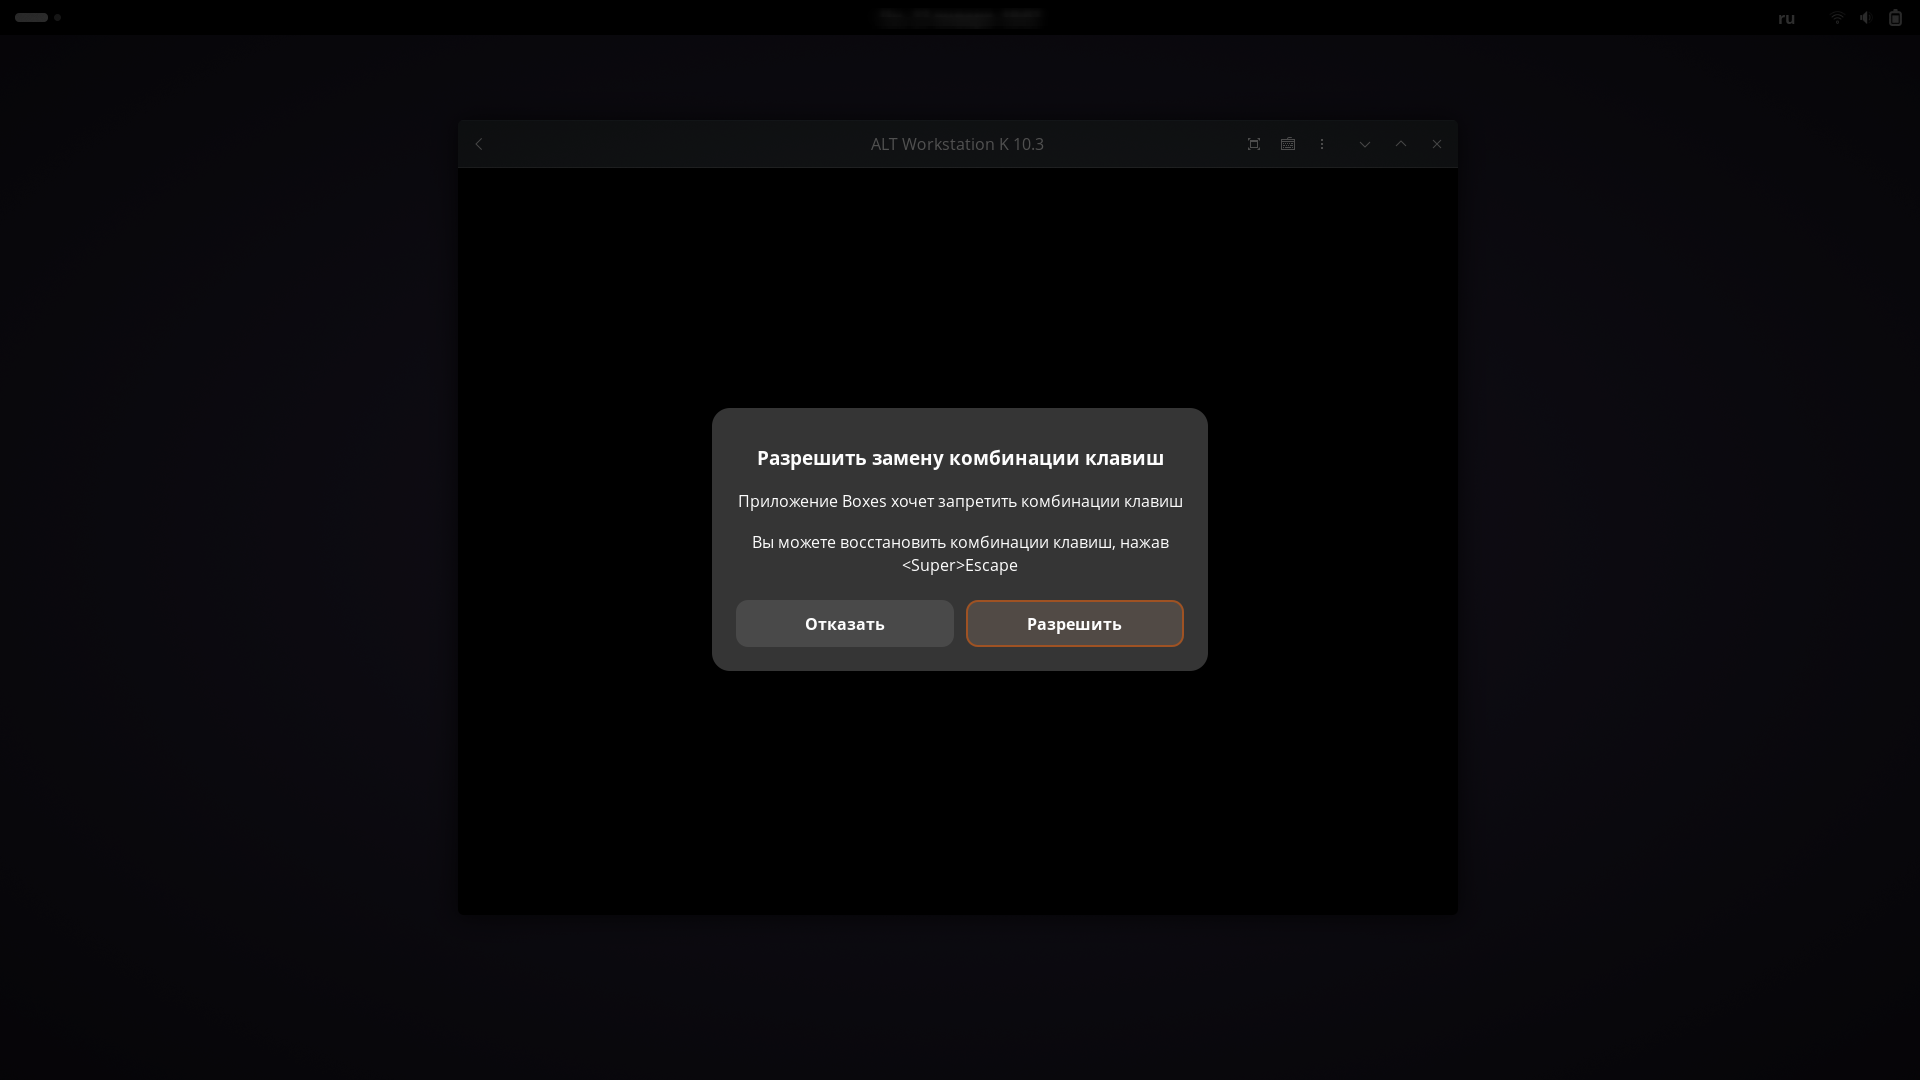
The Boxes utility may offer to intercept input control. If you want the input to be intercepted, select “Allow”, otherwise select “Refuse”.
Example of a request to intercept input.
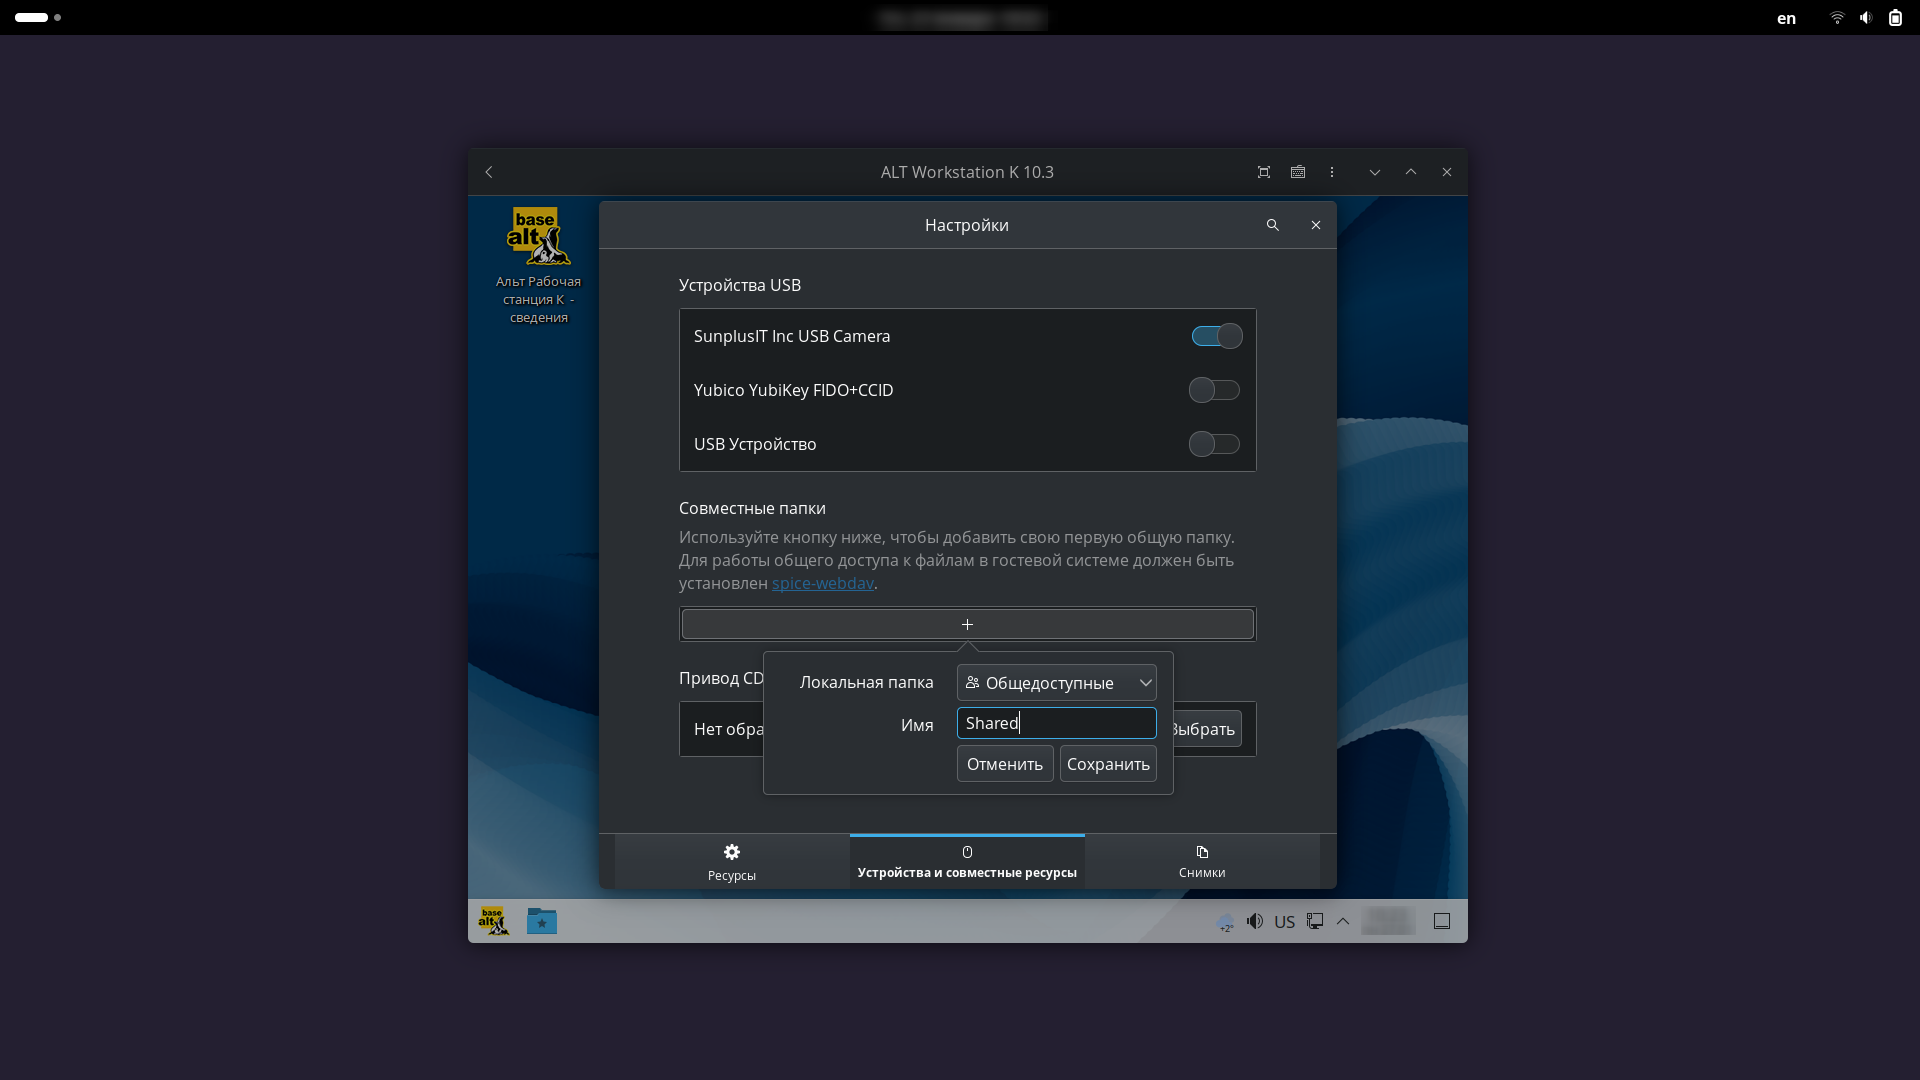
You can “forward” some equipment directly from your computer or laptop into the installed guest operating system. These can be USB devices, such as flash drives, tokens, printers, etc., and some other peripheral equipment.
In addition, inside the guest VM the network will immediately work in Network address translation (NAT) mode, the clipboard will work (in both directions), screen scaling and file transfer (Drag and Drop) in both directions will work. It is also possible to create a shared network folder.
IMPORTANT!
ping command neither to nor from the guest OS will return a result. Connecting via SSH will only work from the guest system, but not into it. There is also no virtual bridge and is not created by default for guest OSes;To forward the device inside the guest VM, you need to go to the settings and switch to the “Devices and compatible resources” tab. Move the slider to forward the desired device.
To create a shared folder, you can click + and specify the name of the shared folder. Then the selected local folder of the guest OS will appear under the specified name in the main (host) system.
An example of forwarding a video camera and creating a shared folder for data exchange.
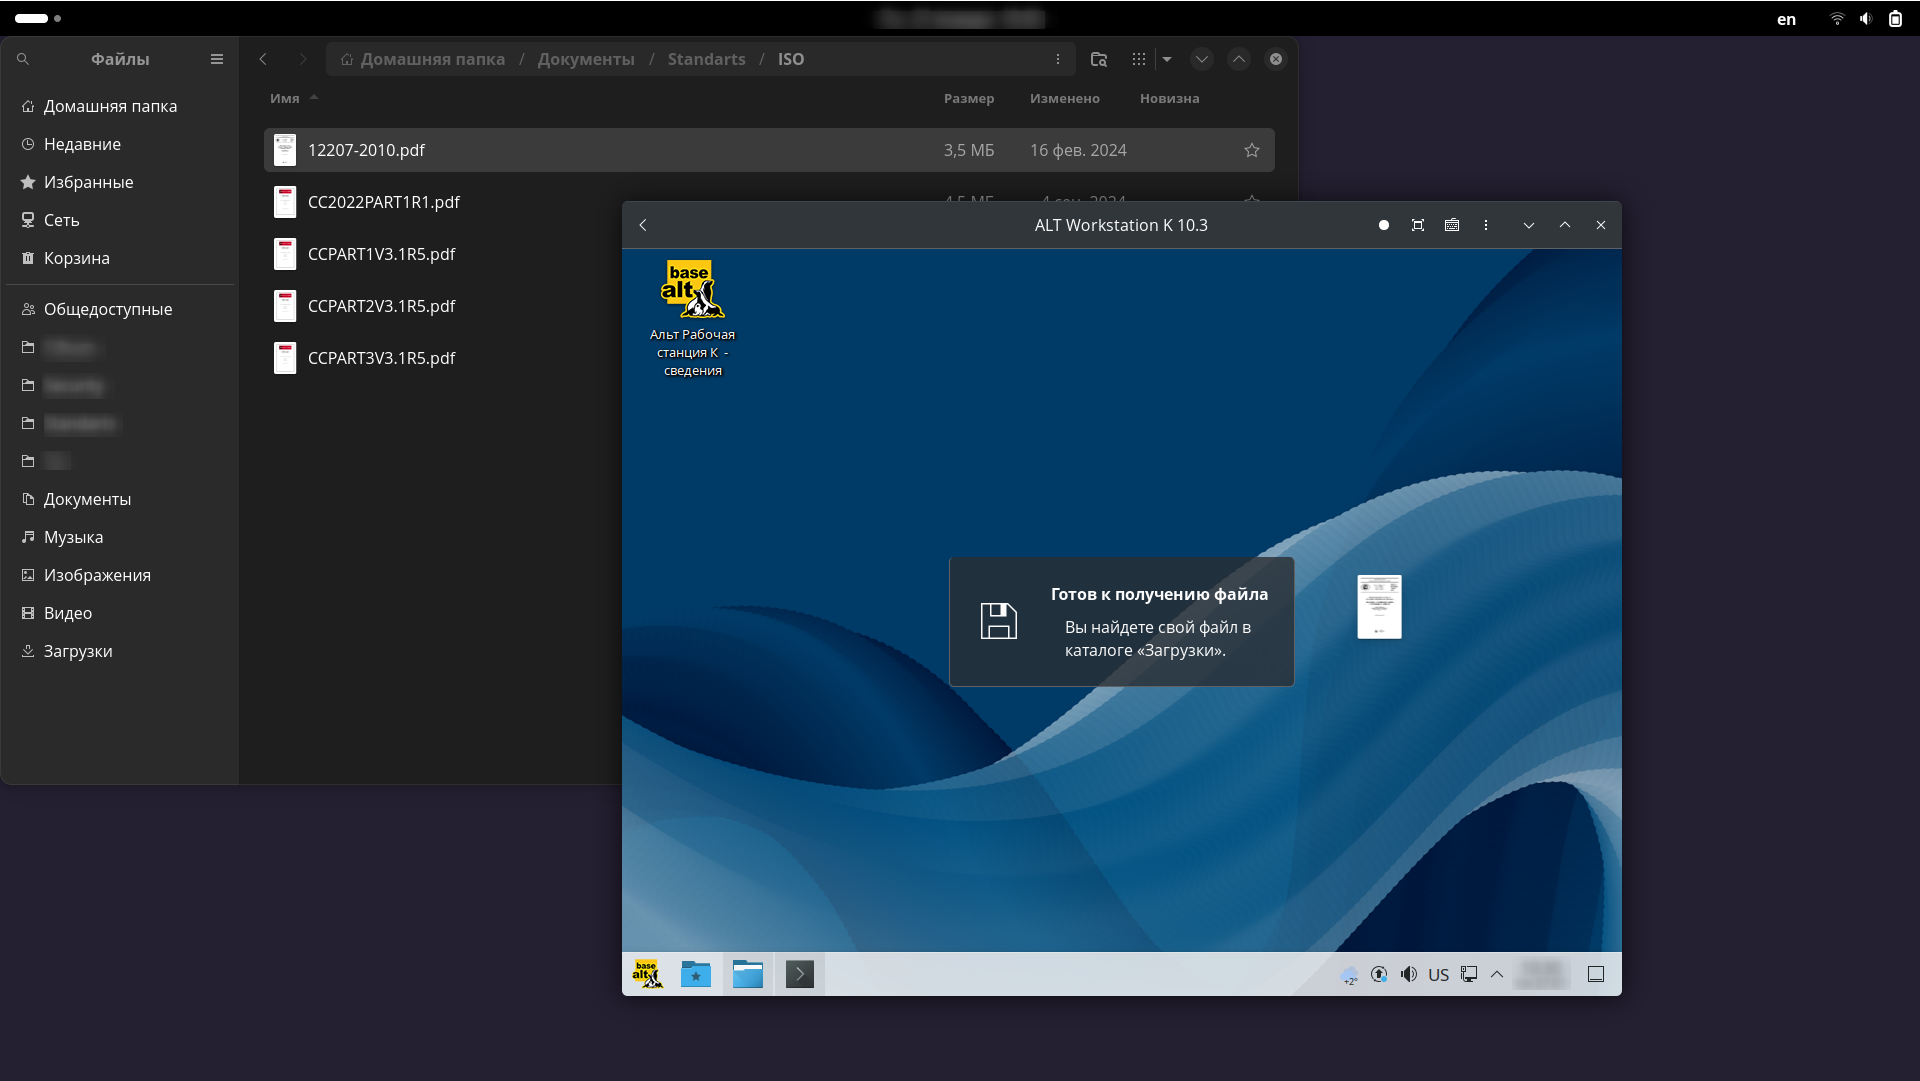
You can simply drag and drop the file into the VM window, then it will appear in the “Downloads” folder in the guest OS.
Example of data exchange using Drag and drop.
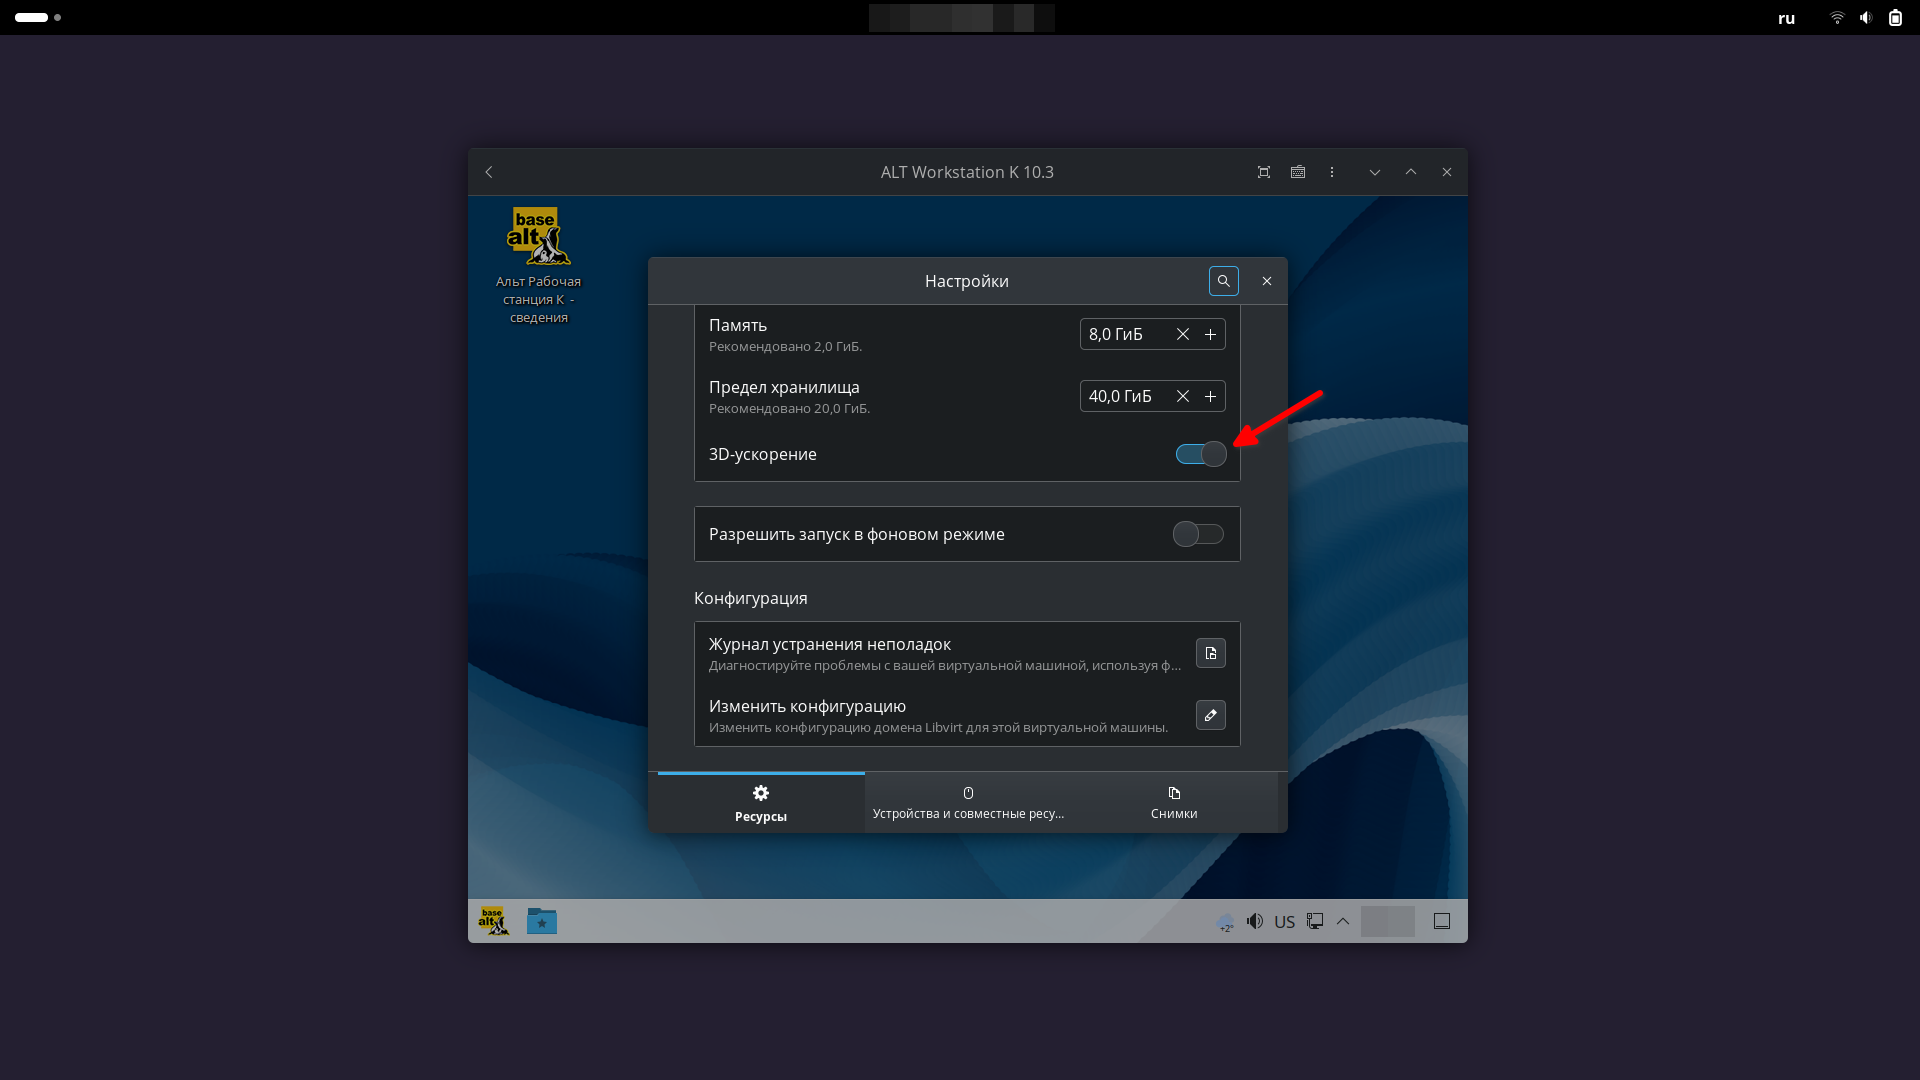
Boxes makes it possible to use 3D acceleration for virtual machines if it is supported by the guest and host systems. This setting will improve the performance of everyday applications and games that require graphic processing, enable animation of the working environment, and so on.
Settings.Don't forget to restart the machine
If you enable 3D acceleration for a box that is already running, the changes will take effect only after a restart.
An example of enabling 3D acceleration for boxing.
Virtual machines take up quite a lot of disk space, so the directory where they are stored can be changed if necessary:
mv ~/.local/share/gnome-boxes/ /path/to/directory
ln -s /path/to/directory ~/.local/share/gnome-boxes
/path/to/directory — the directory to which you want to move the virtual machines.
Внимание
Boxes must be installed from the repository. Changing the directory via Flatpak is currently not supported.
| Shortcut | Description |
|---|---|
| F1 | Help |
| F10 | Open Main menu |
| Ctrl + N | Create new virtual machine |
| Ctrl + F | Search |
| Ctrl + ? | Shortcuts |
| Ctrl + Q | Close windows / Close app |
| Shortcut | Description |
|---|---|
| Alt + → | Go to next page |
| Alt + ← | Go to previous page |
| Shortcut | Description |
|---|---|
| CtrlL + AltL | Go to next page |
| Alt + ← | Back to Overview |
| Ctrl + Q | Close window / Close app |
| F11 | Toggle fullscreen mode |